Tuesday, September 24, 2013

Some light reading...

We've been doing a lot of reading lately. I mean cover-to-cover textbook reading. And I think you should too. 

Here are a couple articles that I think have some valuable information in them. Whether you're a strength athlete or someone looking to learn about biomechanics or diet, give these a read. You'll learn something. I promise!

http://www.endofthreefitness.com/the-missing-element-in-your-strength-program/


Sunday, July 28, 2013

Jimmy Dean, meet Jenny Dub (and Trevor)


We've matched your meat, sir...

For Christmas, Santa got me the meat grinder attachment for my mixer. It hasn't left its box. Truth be told, I was really intimidated by the contraption. What if I don't choose the right meat to grind? What will I make? Don't I also need the sausage stuffer attachment if I want to make sausage??

Then I remembered: It's just food.  If I mess it up, I can probably still eat it.  And if it does all go to pot, no one has to know, right?  Right.

In a previous post, I hinted that I buy lots of food.  I'm what you might call a food hoarder.  The only reason I'm not actually one, is that I eventually use the food.  But it's true, I do buy a ridiculous amount of food.  The redeeming part of this is that I always shop sales and specials. I almost never pay full price, especially for meat, dairy and eggs.


See all those eggs?  All that milk? That was just the first trip to the store... They're on sale aaalllllllll week!

Specials like this usually end up shaping my menu for the week. So when I found a 3lb beef bottom round roast for $2.50/lb I jumped on that really quickly!
It made its home in my fridge for a few days next to a pork blade roast that I had snagged for about $2/lb.

So the next logical step (since they became friends) was to make SAUSAGE!!

First, chop the meat into chunks. I had about 3 lb of each.

Then grind it all together in the fancy brand new meat grinder!
Season to taste. This got complicated... I may have divided my 6lb of ground meat into 4 different batches because I couldn't choose just one seasoning style. 
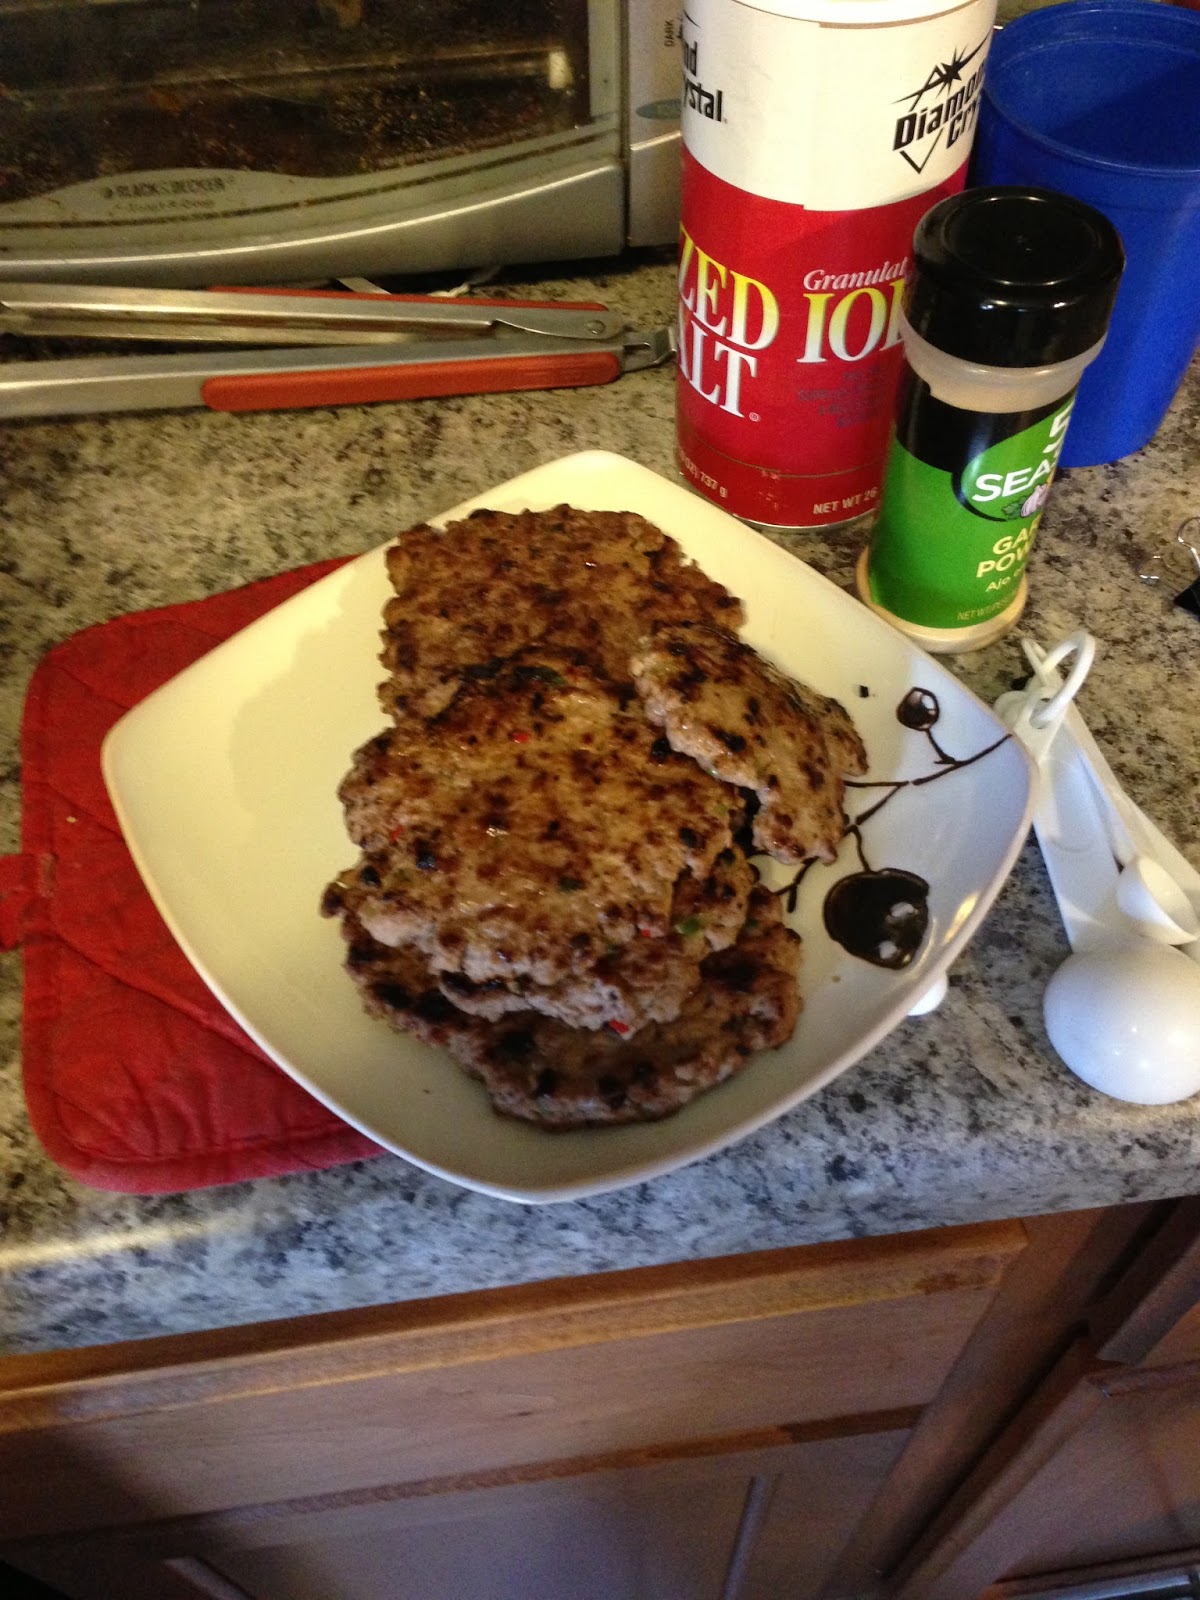
So I had: breakfast sausage (nutmeg, salt, cinnamon, pepper), steak (Montreal steak seasoning), Mexican hot pepper (pepper purée I had made previously, a chopped up jalapeño, salt, red chile flakes, and cayenne pepper), and Italian (rosemary, basil, oregano, garlic)

Make sure to test them before finishing so you know they're delicious. In fact, test it twice to make doubly sure!
I didn't have casing, so I just made bulk sausage and cooked it up as patties.


What's your favorite spice blend in meat?

Monday, July 22, 2013

The egg has been thrown. On it.

I got 2lb of beef sirloin steaks tonight for about $5 and Trevor marinated them for me in a mixture composed of soy sauce, Worcestershire sauce, garlic, and citric acid.  We let them sit for a few hours and then boiled them in a shallow pool of their own marinade for about a minute per side. Then (and this is where it gets good!) we poached eggs in the broth.
Top the beef with the eggs and NOM!!

Voila! Throw an egg on it!


Nutrition info: 1 serving= 6oz sirloin, 3 large eggs: 426 kcal; 21g fat; 1.1 carbs; 56g protein

Thursday, July 18, 2013

Low cal fish tacos

A couple months ago, one of the Hispanic markets had alaskan white pollock for $2/lb, so naturally I bought 10 lbs (those of you who know me are not surprised by this at all.)  Since then, it's been sitting in my freezer taking up space. This week, I finally decided that its time had come.

So I took a couple pounds and stuck it in the fridge to thaw.  Then came the intimidating part: how can I cook this so it tastes like something while keeping in line with my macro requirements for the meal.  White fishes are notoriously tasteless, and this stuff was not high quality. 

About 20 min before I was ready to use it, i removed the fish from the fridge, dried it (it had released a bunch of water during the thaw) and added about 1/4 cup lime juice to the dish so it could marinate a bit while I contemplated further prep.

Here's how it went...

I put 30g defatted soy flour in a dish with a little salt, black pepper, cayenne, and cilantro then mixed it up really well.

Then I dredged the fish portions through the flour mixture, and pan fried them until they were flaky and cooked through. 

For service, I placed about 2-3 oz of fish on a whole cabbage leaf (lettuce wrap style) and topped with broccoli slaw mix, diced tomatoes, and homemade adobo sauce with lime juice. Here's what it looked like on the plate:

Serving size: 4oz fish, 20g broccoli slaw mix, 1/2 cup diced tomatoes, 2 cabbage leaves; 170 kcal, 1.2g fat; 12g carbs, 4.9g fiber; 29.1g protein

It's ALIIIVE!: home fermentation projects Part 1- Yoghurt!

You know it's good because it has an h in it...

Fermenting things is fun.  It's nice to set something up and forget about it, then come back to a new food that's even BETTER than before!  Beer is the classic example.  Take some lowly grains and leave them sitting around in liquid for a while and voíla! Beer.  well... kind of... Sure, beer-making takes a lot of equipment and maybe it's a little more complicated than I let on, but there are lots of other things you can ferment at home that are way easier, just as yummy, and most are even kid-friendly.

Another benefit to fermenting your own food is that you know without a doubt what has been done to that food.  When you buy food, you're trusting the producers, and consequently the labels, to tell you what's in that container.  Making it yourself also allows you license to get creative and sometimes even clean out the fridge.  I mean, come on, who doesn't need that once in a while?

Some of the most commonly home-fermented foods are saurkraut and yoghurt.  These are followed by the less common kefir and kombucha.

Today, in installment 1 of a several part series on home fermentation, we're going to show you how we make our yogurt.  Depending on the length of time you allow the fermentation to proceed and how well you drain it, your yoghurt can even achieve a cream cheese or ricotta consistency.

So what is fermentation?  The textbook definition is the metabolic process converting sugar to acids, gases, or ethanol by bacteria or yeast. This is how our yoghurt will end up being sugar free. The bacteria in your starter culture (commercial Greek yogurt) will multiply in your milk, eating the sugar and converting it into lactic acid. The acid denatures the proteins is milk, thickening the solution into what we know as yogurt.

Homemade Fat-free Carb-free yoghurt

What you'll need: 
Fat-free Milk (you'll get about a pound of product per gallon of milk)
thermometer
Greek Yogurt (yes, from the store-- make sure it has live active cultures in it, not cornstarch)
A fine mesh sieve
Cheesecloth

What you'll do:
Heat the milk in a saucepan until it reaches 170oF  Next, allow the milk to cool to 110 degrees

Inoculate the cooled milk with a spoonful of the commercial Greek yogurt to get the party started.
Allow the mixture to sit at about 100oF for about 16 hours.  During this time, your bacteria will grow and multiply on their sugar highs and acidify the milk as a result.  We like to set our culture outside for this part.  Phoenix in the summer is the perfect place to do this.  Keep it out of the sun (we like to do ours overnight).

Then set the sieve on a big bowl, line it with cheesecloth and pour in your yoghurt. Like this:


Let it strain at room temperature for about 24h. This time can be changed depending on the consistency you want. Longer straining time makes a more ricotta-like texture, shorter straining time leaves the product creamier. 


Then what?

EAT!

I really like mixing TVP into mine, it's almost like putting granola into yogurt.

You can save some of your yoghurt to use as inoculant in the next batch. This way you have a perpetual starter for making yoghurt at home!